
With three kiddos you probably think I have all kinds of adorable Halloween food treats up my witch’s hat. Years back, I was ridiculously devoted to Halloween.
 Before having children, I would take time off work to decorate my house. Yes, I took vacation days to create Halloween characters, decorate my house with lights, set the scene with music and then bring all those creepy/silly characters to life.
Here’s the thing: outside of cooking, I’m not much of a crafty person. I don’t have a sewing machine. Using a glue gun stresses me out. But, I managed to pull off this silliness (and more) over the years…

I have a soft spot for those three witches, they are my babes. 😉 The witches’ cauldron has blinky lights inside, snakes and spiders on top, and a sign in with “Double, double toil and trouble; Fire burn, and caldron bubble“.
And those ghosts? I have dozens! they are ghouly on windows, but also so cool inside hanging from doors and lights – and even on hedges outside! So, the girls absolutely love this crazy side of their mother.
Yet, I have less and less time to pull it off every year, let alone get crafty in the kitchen with really cute Halloween food. Any other mothers with me?
Yet, I want to make more fun Halloween treats, because the “treats” that are out there? Anything but. Mass-marketed Halloween candy is rife with artificial colors, artificial flavors, preservatives, hydrogenated oils, GMOs – not to mention dairy and gelatin.
If you follow my FB page, I posted a couple of images over the weekend about GMOs in Halloween candy and also some alternatives. Link over if you want to have a look.
Every Halloween our girls run through the neighborhood collecting stashes of this junk. We donate it or otherwise give it away.
The girls are actually totally cool about it. They don’t want most of those candy. We sort through and find a few acceptable treats. Then, I trade up for the GOOD stuff. Better chocolate treats! And also little bags of organic chips. Or, I treat them with some of my own homemade goodies!
So, this year I was determined to make some sort of playful Halloween treat. It had to meet 2 conditions:
1) Quick and easy to make.
2) Nut-free option so they could share at school.
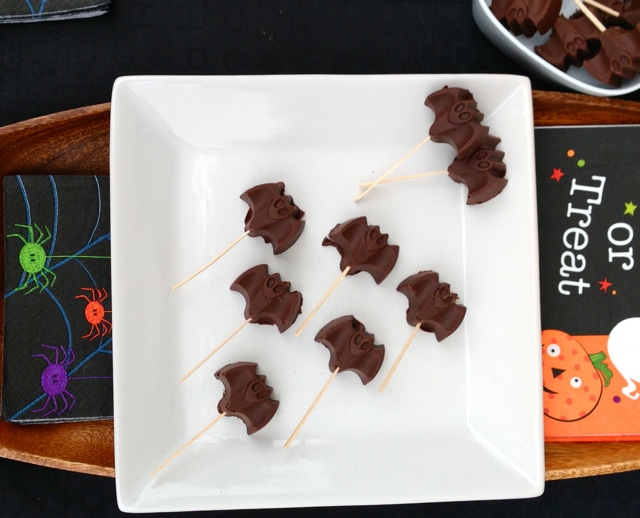
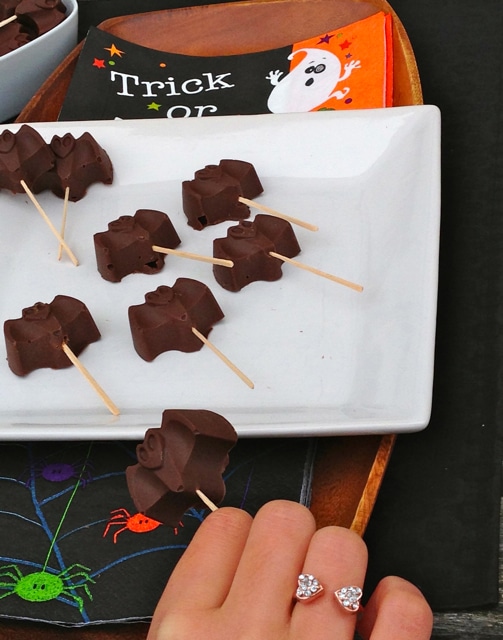
Behold… Chocolate Lollibats!

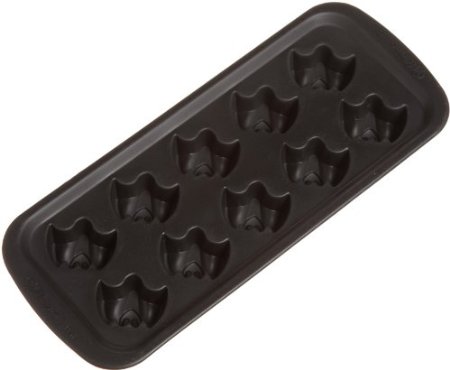
As I mentioned, I don’t have a lot of kitchen-crafty things. So, when I had this idea in mind, I needed to get a mold to set some chocolate.
I popped into Kitchen Therapy, and lucked into this silicone bat ice-cube mold. I see online they also have pumpkin molds!
I had a hard time deciding a name for these little treats. Originally I had a different ingredient combo, and frozen them. So, “Batsicles” came to mind. But, realizing these would not work for school, I reformulated. I was tossing around some name ideas, then polled you all on facebook. “Lollibats” edged out “Bat Bites” and “Batsicles”. I love all the names. You may call me Batwoman. 😉
Holy chocolate treats, vegan Batwoman!
When looking at this recipe, you may wonder why I’ve added nut butter. Why not just melt the chocolate and fill the molds? Well, you could do that. Absolutely. The chocolate will be very hard, however, just as it is in chocolate chip form.
By adding a touch of nut butter, it allows the chocolate to be softer to insert a toothpick. I also find this consistency preferable for little kids, easier for them to bite into. Finally, it makes the dark chocolate taste a little more like milk chocolate!
Chocolate Lollibats ReciPage link
1/2 cup non-dairy chocolate chips
1 – 1 1/2 tbsp sunflower seed butter or a good-quality tahini (as in this post) (can also use almond/cashew butter or peanut butter if nut allergies aren’t present); see note
optional: 1/4 – 1/2 tsp vanilla bean powder (I use Organic Traditions, I’m loving this stuff! – use 1/2 tsp for sunflower butter, 1/4 tsp for nut butters)
Set a heat-proof bowl over a small pot with a few inches of water (setting up a double boiler). Turn heat to medium-low. Add chocolate, sunflower seed butter or nut butter, and vanilla powder to the bowl. Stir through until it is fully melted. Remove from heat, and spoon into a chocolate mould (I use a silicon ice cube mould). Once finishing with spooning in the chocolate, transfer the filled pan to the fridge to cool completely. Once firm, invert to remove the chocolate shapes. Serve as is, or insert toothpicks into each to make “lollibats”! (If you don’t have molds, pour the melted chocolate into a very small rimmed pan or dish so that it will be about 3/4″ thick. Once cool, cut into small cubes, and insert toothpicks.)
Nut Butter Note: If using just 1 tbsp of nut butter, the lollipops will be just a touch firmer than using 1 1/2 tbsp. I prefer the consistency with 1 1/2 tbsp, they are much like a milk chocolate. For school parties, it might be best to keep them firmer with 1 tbsp of the nut butter.
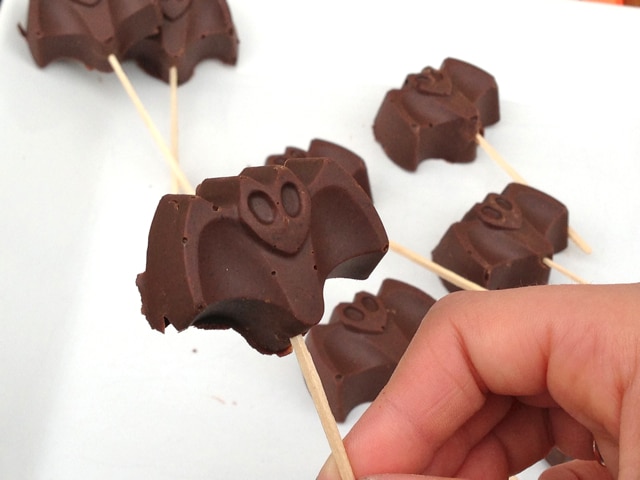
“But the bat just flew into my fingers, mom!”
If you want more Halloween inspiration, here are some imaginative ideas (sweet and savory):
Homemade “Rolo” Knock-Offs and 3-layer Almond Coconut Chocolate Bars from from Oh She Glows
Raw Witches’ Fingers from Choosing Raw
Jalapeno Popper Pepper Jacks from Spabettie
Falafel Fingers from Vegan Richa
Wishing you all a Happy Halloween! Have any fun and easy ideas for food or decorating? Please share with us!
Sending plant-powered kitchen love to you all! xx -Dreena

Richa says
I love the Lollibats and everything about this post!
Alisa says
That décor is awesome Dreena! I can’t believe you made those. You are beyond crafty, seriously.